
On a a sloped site exposed to the wind, a poorly anchored schist stake ends up lying on the ground after the first winter. Installing schist stakes does not tolerate approximation, neither in cutting nor in embedding depth. Understanding the material’s constraints before taking out the grinder avoids breaking half the batch and having to restart the project six months later.
Cutting Schist: Protecting Your Health Before Protecting the Stone
We often talk about the right disc or the correct cutting angle, but rarely about what we breathe during the operation. Schist may contain respirable crystalline silica, a fine dust particularly dangerous for the lungs. INRS and EU-OSHA now recommend cutting with water, wearing an FFP2 or FFP3 mask, and using source extraction when working with a diamond disc.
See also : The ultimate guide to adopting a sporty and eco-friendly lifestyle
In practice, a small hose is connected that runs a stream of water along the cutting line. The blade heats less, the stone breaks less, and the dust cloud almost entirely disappears. On a border site where about twenty stakes are adjusted, this precaution changes everything.
To learn how to cut and install schist stakes properly, start by marking the cut with a thick pencil on both sides of the stake, then begin to notch the stone a few millimeters before gradually deepening. Schist is cut along its natural cleavage planes: forcing perpendicularly to these layers guarantees an irregular break.
See also : How to cancel a Zalando order and get a refund easily
- Use a smooth segment diamond disc (not a turbo disc) to limit vibrations in the layered stone.
- Keep the stake on a stable surface, supported between two battens or secured in a masonry vise, never held by hand.
- Mark the cutting line with a thick pencil or a dry point on both faces so that the lines meet cleanly.

Anchoring Schist Stakes in Windy Areas: Depth and Reinforcements
The classic rule is to bury about one-third of the total height of the stake. On loose soil or in a wind-exposed area, this ratio is not sufficient. Technical data sheets from manufacturers like Edycem specify that tall stakes require concrete mixed to a minimum standard, or even metal plates or loops to secure multiple stakes together.
First, dig a trench whose depth exceeds the buried third by a few centimeters to create a draining gravel bed at the bottom. This bed prevents water from stagnating at the base of the schist and limits capillary rise, which ultimately weakens the base.
Sealing Concrete or Stabilized: The Right Choice Depending on the Soil
On clay soil that swells and shrinks with the seasons, a rigid concrete seal transmits movements to the stake. A slightly dosed sand-cement mix is preferred, which maintains some flexibility. On stable sandy soil, regular concrete holds perfectly.
In practice, pour the mix around the stake, ensuring it is perfectly vertical (check with a level on two faces), then wait at least 48 hours before backfilling the trench. Compact the backfill soil in layers of a few centimeters with a pick handle to avoid disturbing the still fresh stake.
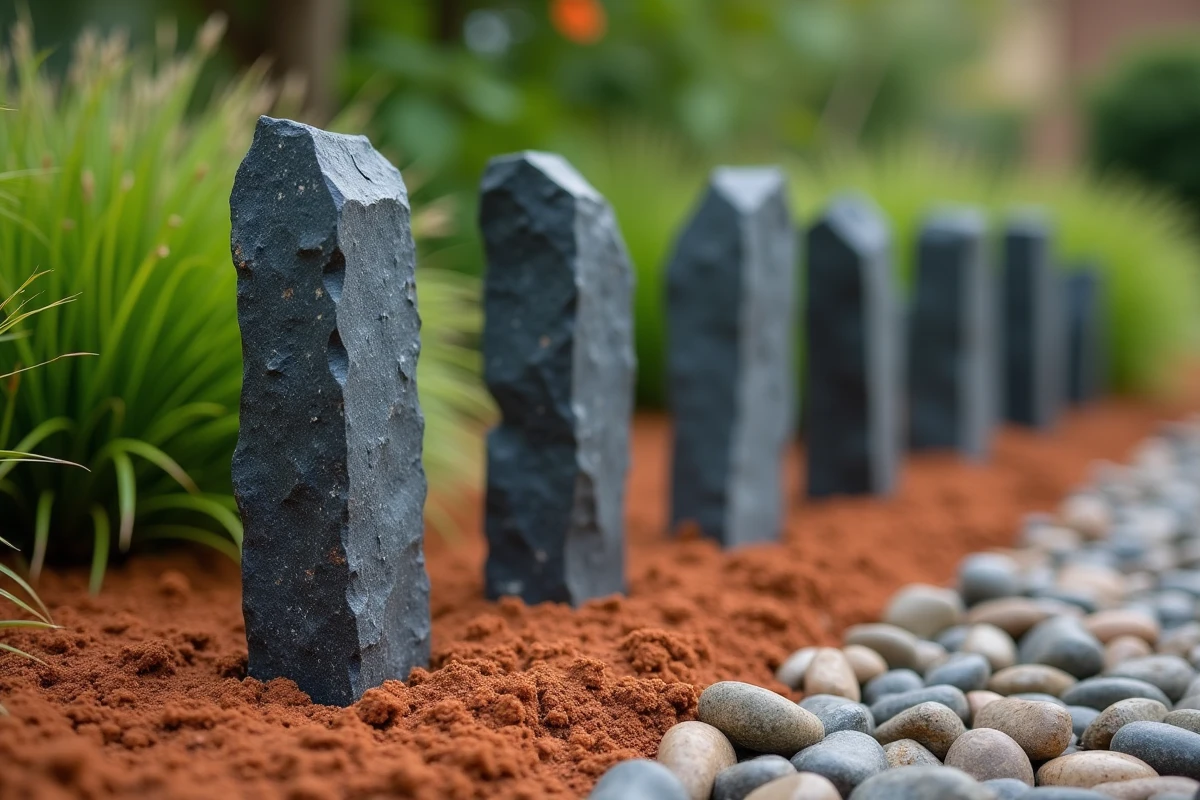
Vertical Installation of Schist Stakes for Privacy Screens and High Borders
A privacy screen made of vertically installed schist stakes provides a very clean mineral appearance, provided that all stakes are flush at the same visible height. The challenge lies in the fact that stakes never have exactly the same raw length. Adjust from the bottom by digging deeper or shallower, rather than recutting each stake from the top.
Stretch a line between two reference stakes to mark the top line. Then, stake by stake, adjust the depth of the trench. This method is longer than aligning by the ground, but it avoids dozens of additional cuts and preserves the natural surface of the schist that is partially visible.
Spacing and Joints Between Vertical Stakes
For a privacy effect, place the stakes edge to edge. Opinions vary on this point: some leave a joint of a few millimeters filled with polymer sand, while others literally bond the bars together. Polymer sand has the advantage of allowing some play in case of ground movement while blocking weed growth.
For a high border of a flowerbed where visual impermeability is not sought, space the stakes one to two centimeters apart. This gap allows low-angle light to pass through and creates a play of shadows that highlights the layered texture of the schist.
Horizontal Installation of Schist Stakes for Pathways and Ground Delimitations
Installing schist bars horizontally along a pathway seems simpler, but this is where the most leveling errors occur. A bed of compacted sand a few centimeters thick ensures a regular base. Check the level every two or three stakes at most.
The horizontal stake works little mechanically, so concrete sealing is not always necessary. However, it is essential to contain the bars laterally so they do not shift over time. Two common solutions:
- Support the stakes between buried steel or aluminum edging, which are invisible once the mulch or gravel is laid.
- Block each end with a mortar block hidden below the level of the finished ground.
- Fill the space between the stakes and the edge of the pathway with slate flakes, which naturally hold the bars while remaining visually consistent.
Schist laid flat supports pedestrian traffic without difficulty, but it becomes slippery when wet. On a frequently used pathway, choose stakes with a slightly rough or cleaved surface rather than smooth sawn bars.
The last point that is often overlooked: check the flatness of the bed before each bar, not after. Repositioning a schist stake already set on its sand bed disturbs the entire base and requires re-compaction. It is better to spend ten more seconds with the mason’s rule than ten minutes starting over.